Tuesday, April 2, 2013
Audi A3 Nav RNS E and Bluetooth Retrofit single DIN to double DIN conversion
Anyway, I figured that since I was already doing that upgrade, I might as well throw in the OEM Bluetooth module and kill two birds with one stone (as the saying goes...).
It always bothered me that I hadnt ordered these two options straight from the factory. So, I took it upon myself to ease my irritation 
My camera ended up dying after taking snaps of the parts, so I didnt want to wait until it was charged to do the installation. So, the pics are of the parts, and finished results. I will describe in detail how to do the full install.
1) Full list of needed parts - pictures and part numbers:
NOTE: THESE ARE THE ONLY PARTS YOU NEED - dont waste you $ getting other parts that have been posted as necessary:
a) Radio removal keys
- I got these from eBay - $10 including shipping.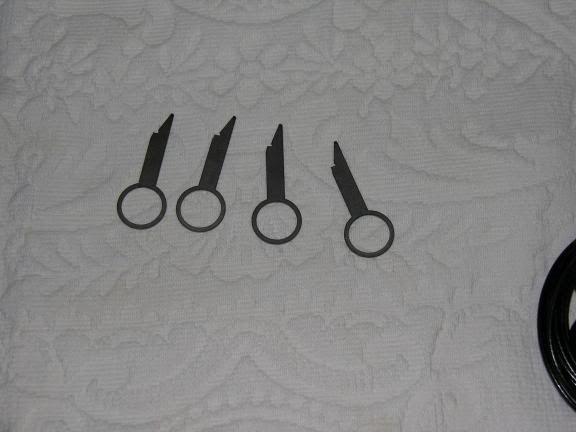
b) Double-DIN cage
PART NO: 8P0 858 005 A
CAN $95.00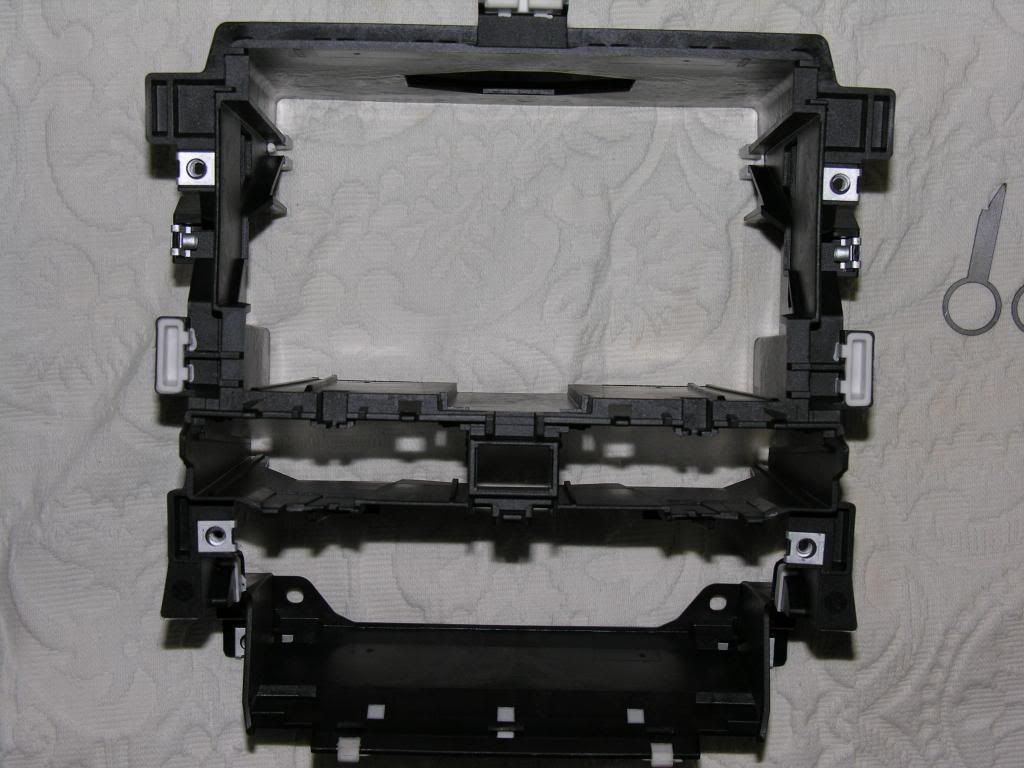
c) Blanks (non-functional buttons)
PART NOS:
LEFT: 8P0 941 515 C 5PR
RIGHT: 8P0 941 516 C 5PR
CAN $10.73 each
ESP Switch:
PART NO: 8P0 927 134 C 5PR
CAN$ 35.00
*YOU DO NOT NEED A NEW HAZARD LIGHT SWITCH - Single-DIN Hazard light fits the same, even though part number is different*
** NONE OF THE OTHER BUTTONS WILL WORK - Single-DIN button, including ESP switch, are all larger**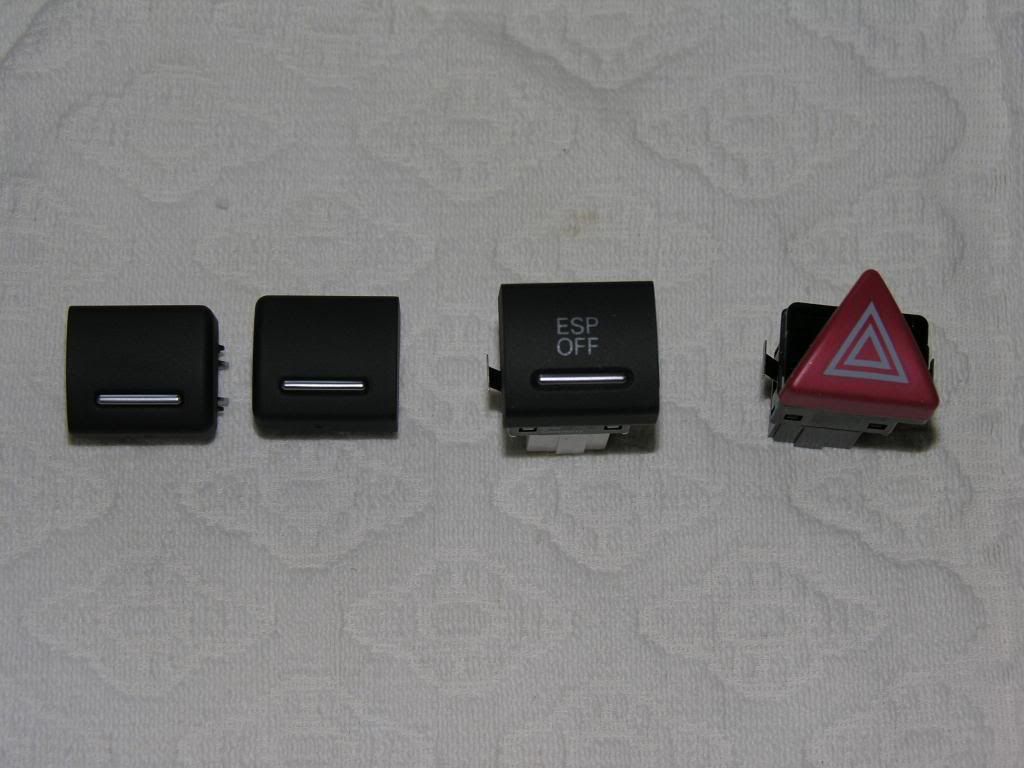
d) Card Shelf:
PART NO: 8P0 941 561 E 5PR
CAN $85.00 (What a joke...  )
)
*AGAIN, Single-DIN card shelf is too big for the double-DIN cage*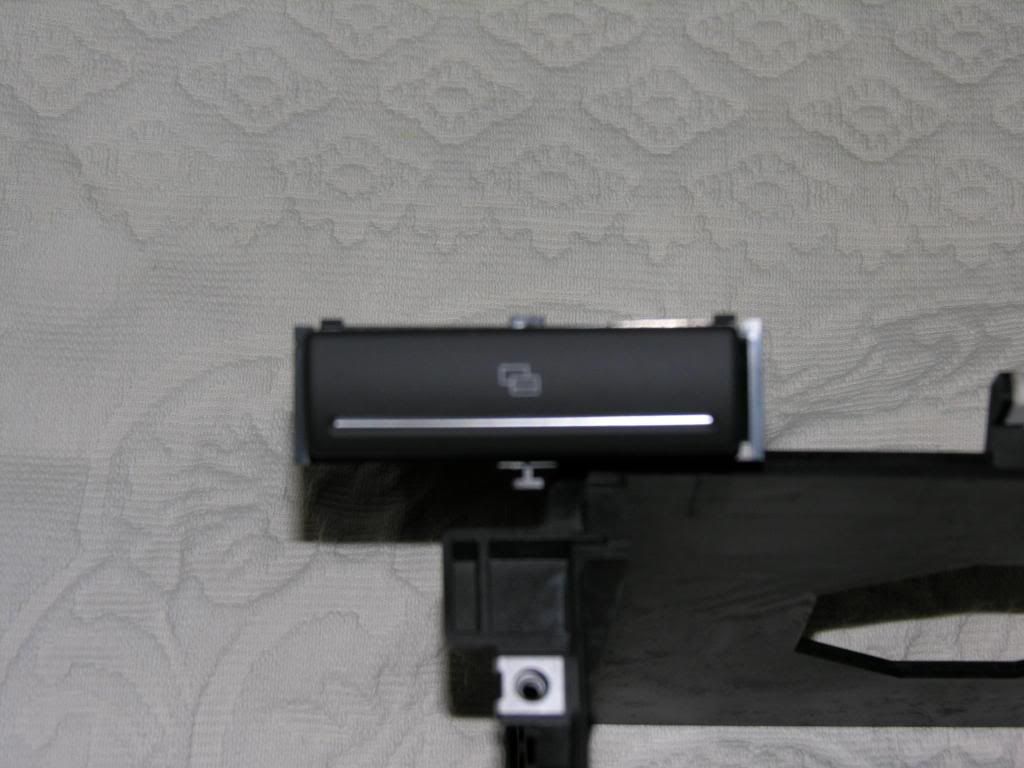 (sorry for the crappy pic)
e) Center trim (Goes around switches - again, double-DIN specific):
PART NO: 8P0 863 321 C 6PS
CAN $52.65
e1) THIS IS FOR US CARS ONLY:
Passenger Airbag Warning Light for double-DIN
PART NO: 8P0 919 234 A 5PR
e2) FOR THOSE WITH TPMS OR WANTING TO RETROFIT TPMS:
TPMS switch for double-DIN
PART NO: 8P0 927 121 A 5PR
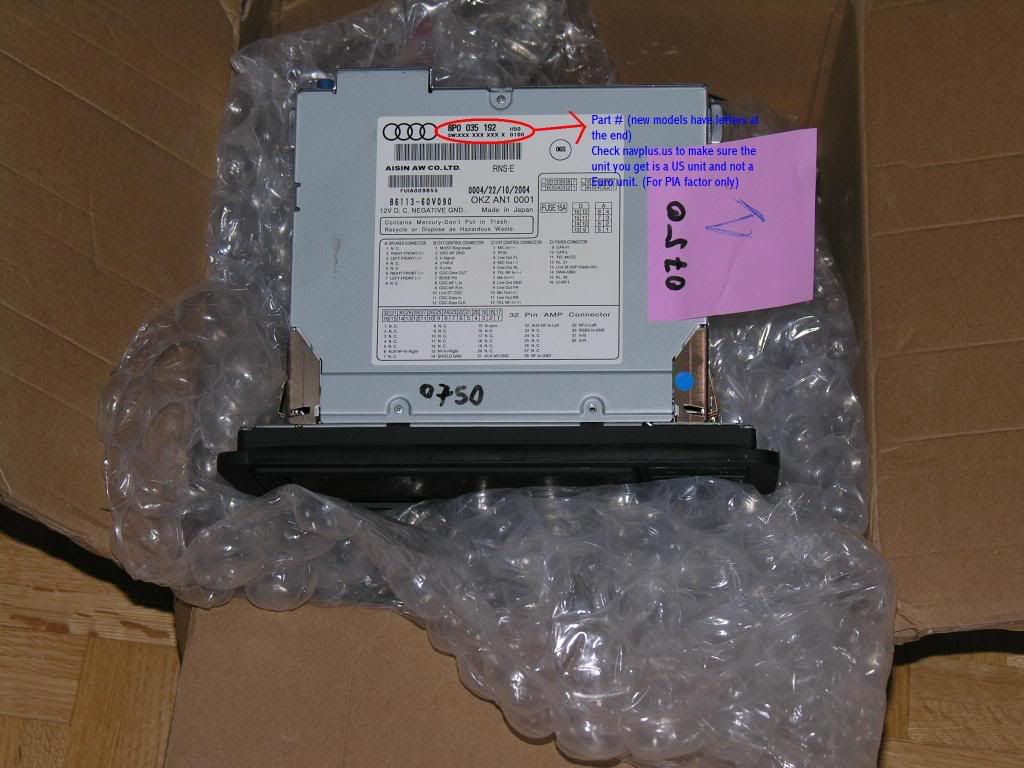
f) RNS-E Unit
PART NO: 8P0 035 192
**NEW UNITS HAVE A LETTER AT THE END OF THE PART NO: B, C, F, and G**
Bought off eBay for US$900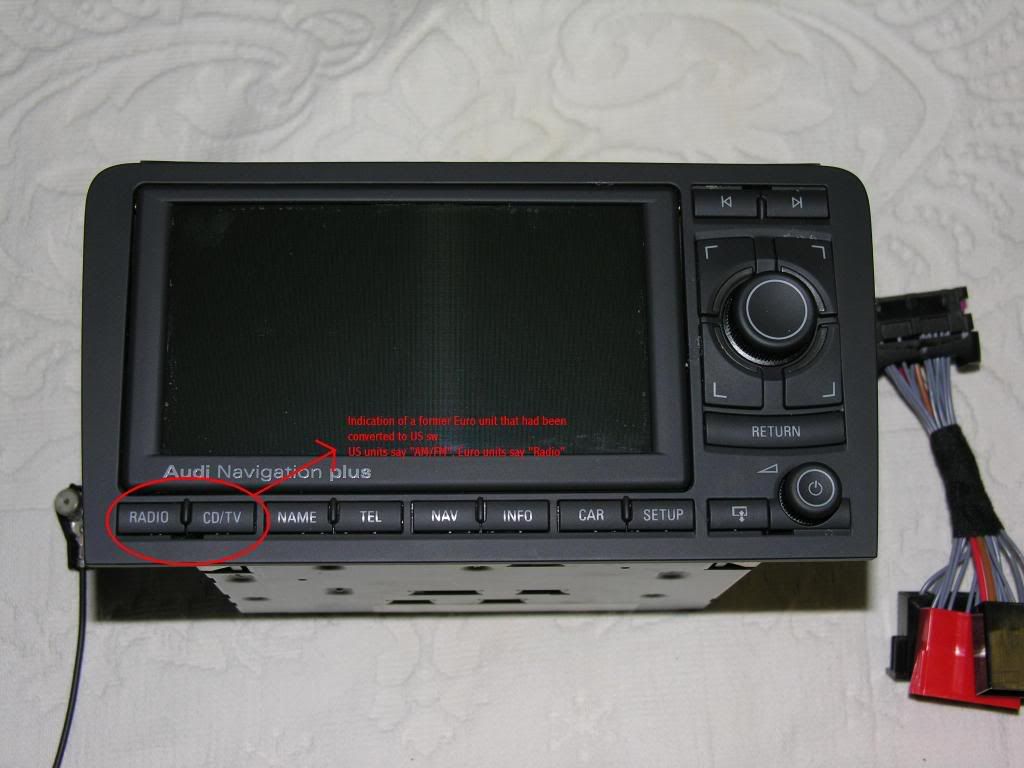
g) RNS-E wiring harness - make sure to get the adapter to work with non-BOSE, w/out telephone (if no BT), w/ CD Changer
**Use this harness only if youre not retrofitting the Bluetooth module at the same time - that requires a different harness**
Can be had on eBay, or NavParts.com or Euro-Parts.us. RNS-E sellers should include this harness though.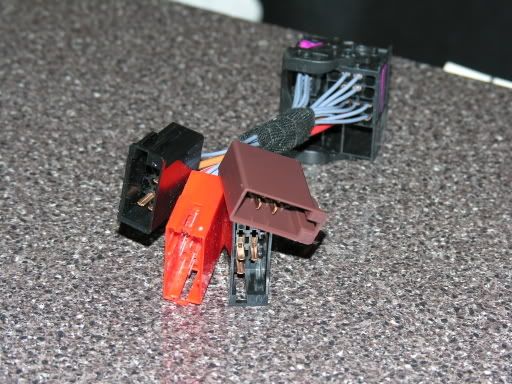
h) GPS antenna and Radio antenna adapter
*These parts should also be included in your RNS-E purchase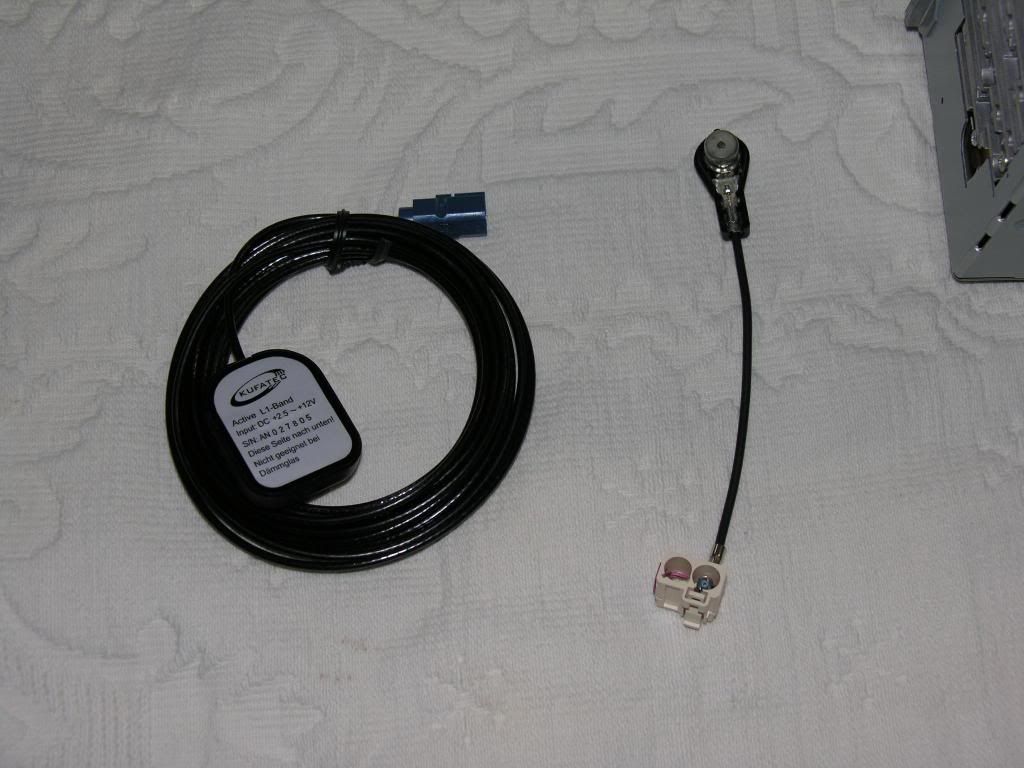
i) Other needed things:
Painters tape (for protection)
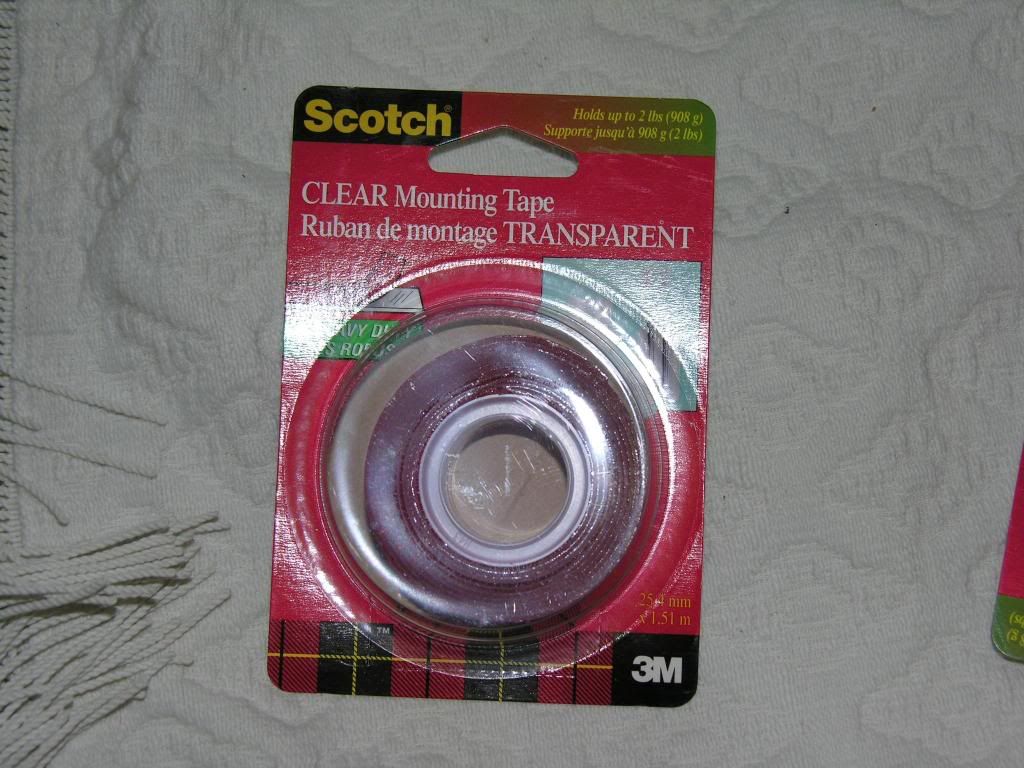
Double-sided tape (optional)
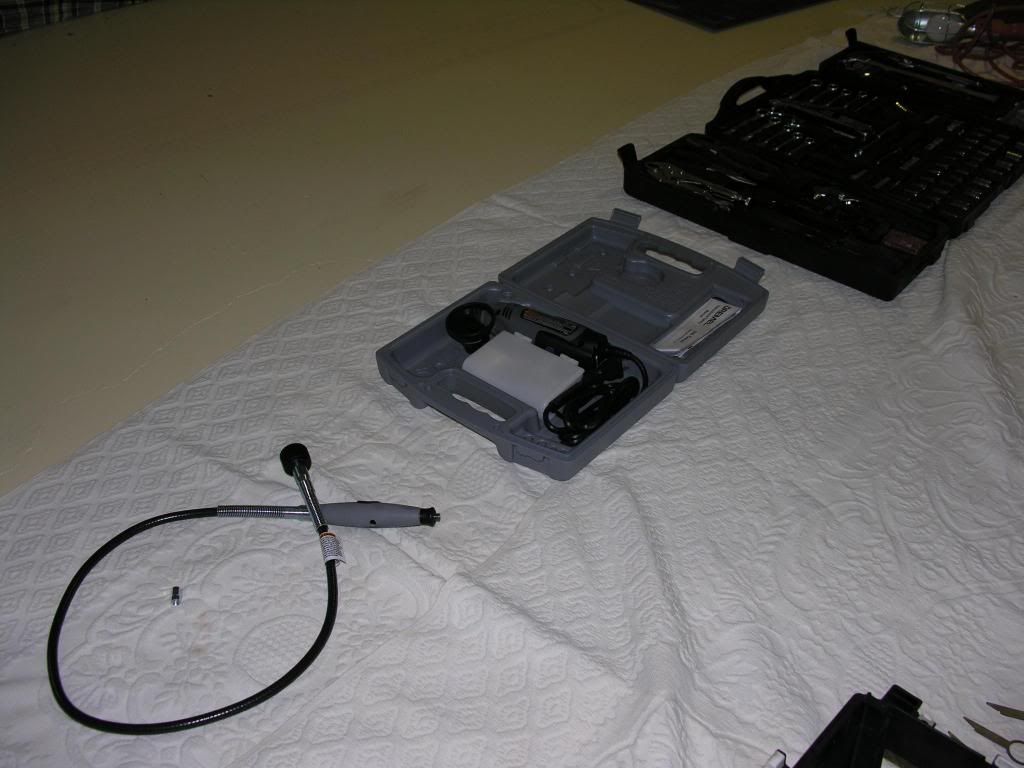
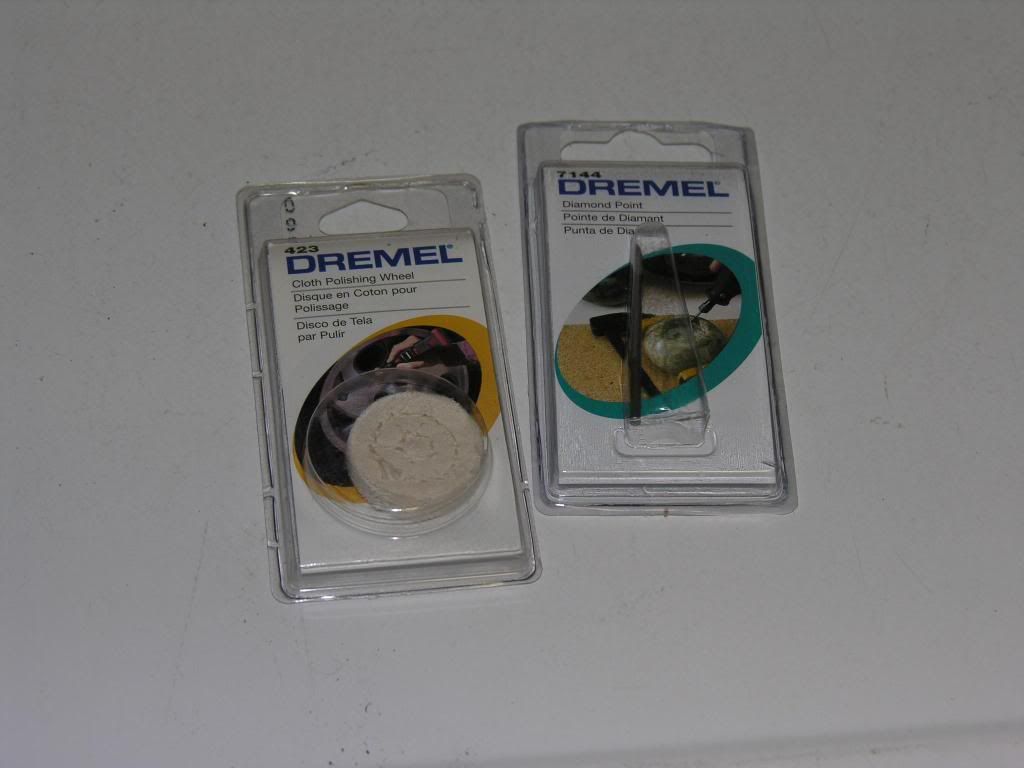
Dremel +
flexible add-on (optional)
Soft cloth polishing dremel tool
Cutting tool
Tool kit - Hex nuts, torx bits, strong hands!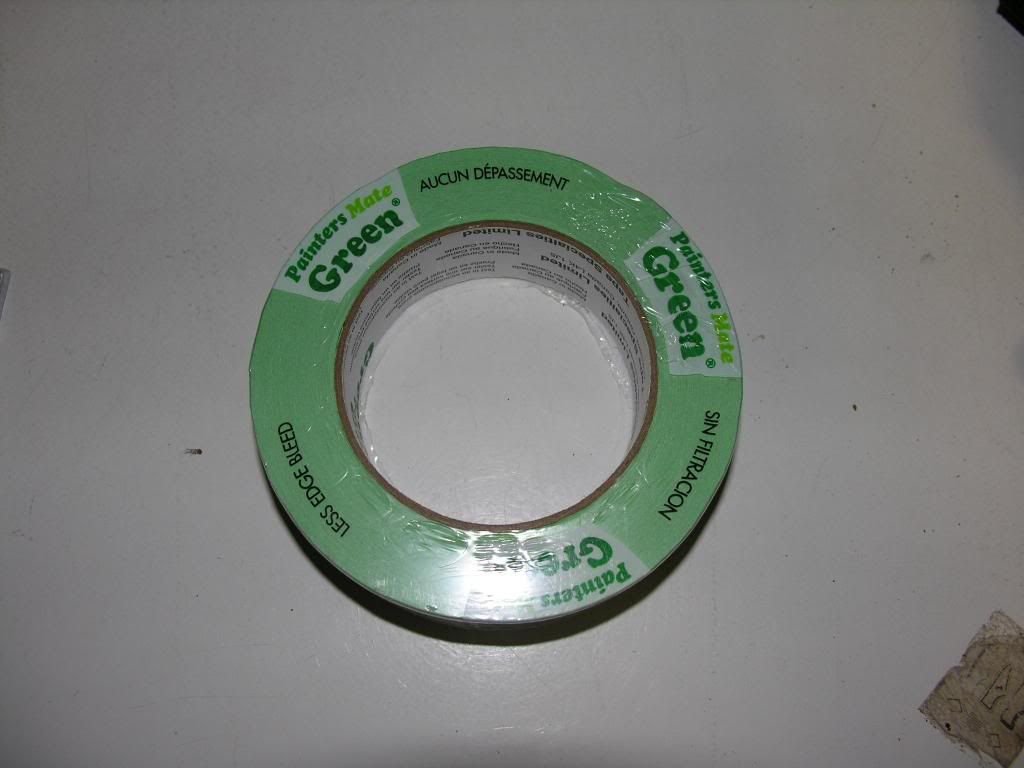
Bluetooth Parts - optional (not needed for RNS-E install)
*I purchased all these parts from Lee at NSX JR. Hes a great guy, helped me out with everything from the install to coding both my RNS-E and BT unit with VagCom
a) Bluetooth Module; RNS-E wiring harness (with mic and BT wires already built in)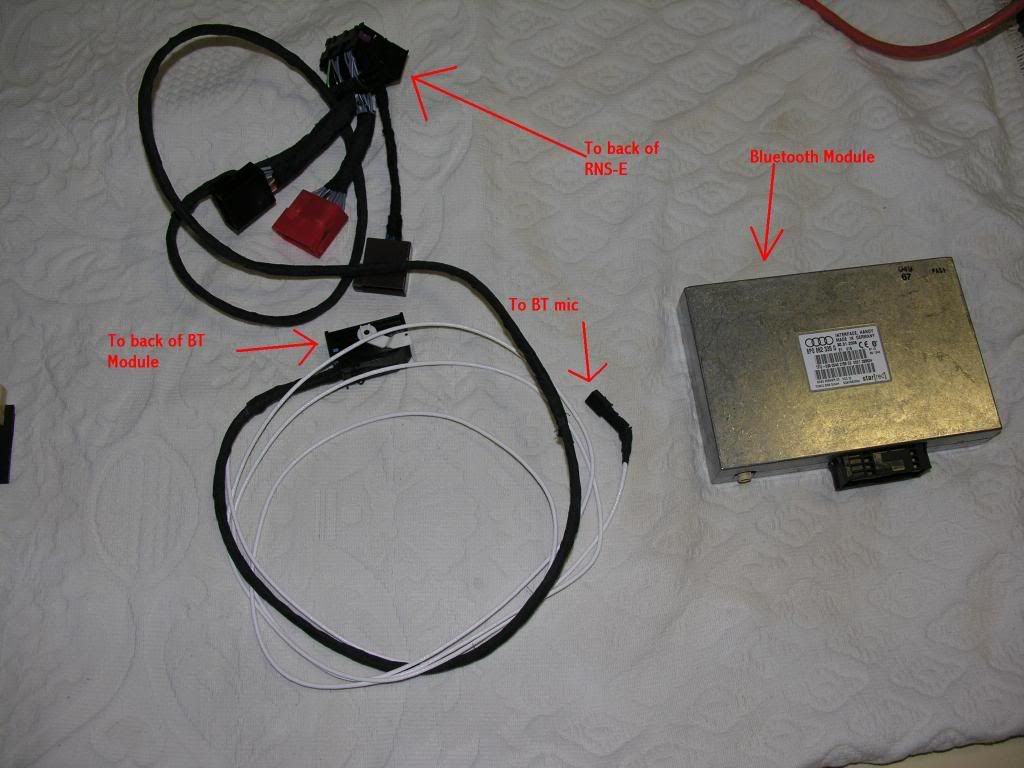
b) BT antenna; BT mic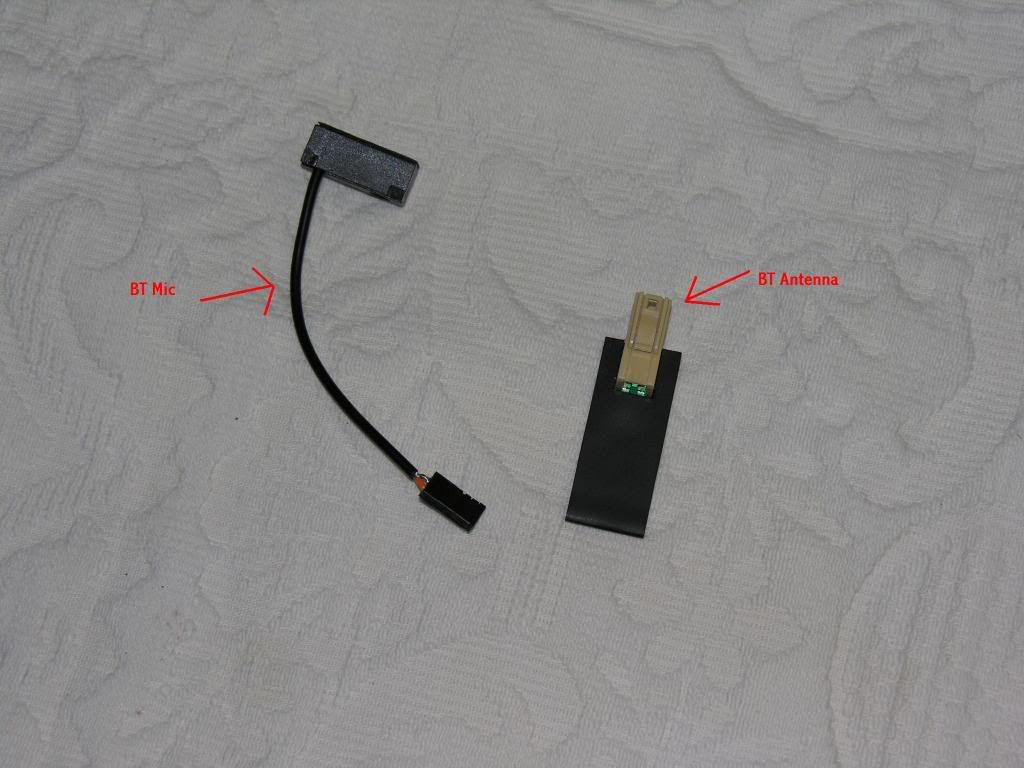
Now, if you have all these parts in hand, youre ready for the install.
INSTALLATION:
Unfortunately, like I said, I dont have pics from the install itself. Its just a matter of unscrewing and removal and replacing.
If youre worried about scratching up your dash, put a towel across your handles, and use painters tape on the outer trim of the centre console.
I didnt do either since I was exceedingly careful... but use your own judgement.
1) Remove Concert II radio
Using 2 radio removal keys, remove the old radio.
*Insert the keys with the hooks facing inward* Once the keys pop in, you cant remove them until the radio is out.
Once removed, disconnect the adapters. Dont worry about not knowing what goes where after - its a simple puzzle. They are colour coded and are size dependant as well.
2) Once the radio is removed, pull off the upper trim piece. Itll pop out easily.
3) Remove blank switches, ESP switch, Hazard ligh switch, and Card holder.
The blanks pop out easily.
The ESP and Hazard switches need to be pulled out and unplugged - again dont worry about confusing them later - colour coded white and black.
The Card holder requires a fine tool to push down on small clips on the upper right and left side. (Easily seen with the drawer open).
4) Remove the climate control unit.
Itll pull out easily with the rest gone. Unhook all the cables - again colour coded and size dependant for later.
Now it gets fun.
5) Removal of ash tray.
Open the ashtray. Hook your fingers underneath where the ashtray meets the shift boot. Lift up firmly. The shift boot trim should pop up. There are two clips in the front and two in the back. Pull the boot up all the way over the gear shift (for 6MT) and put the car in 4th or 6th to get the stick out of the way.
6) Remove glove box and cover underneath steering wheel.
This is a simple process of removing bolts. There are many.
Under steering wheel:
a) Push light switch in, and twist to the right. It should pop out. Disconnect the two connections, and put switch away for later.
b) Remove fuse box panel cover.
c) Unscrew all the bolts underneath the fuse panel. Its obvious which ones are holding the lower dash on.
d) There are two bolts in the foot well. One on the right and one on the left. Unscrew both of those and the lower dash should come off.
e) The top will tilt down. With the top part down, pull outward and the rest of it should come off.
Glove Box:
a) Remove side panel
b) Open glove box and remove everything.
c) Unscrew all bolts - 3 or 4 on side by panel, another 6 or so found after opening the glove box.
d) After all the bolts are removed, the glove box will fall downward. Unhook the pass. airbag connection, the CD changer cable, and the in-box light cable.
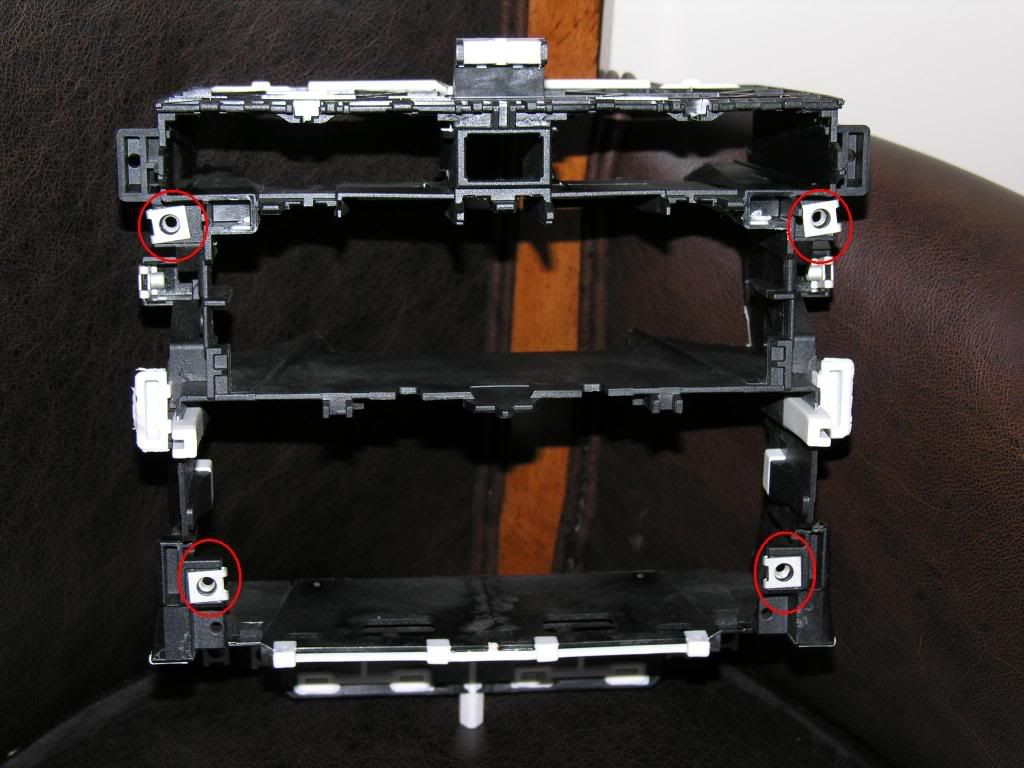
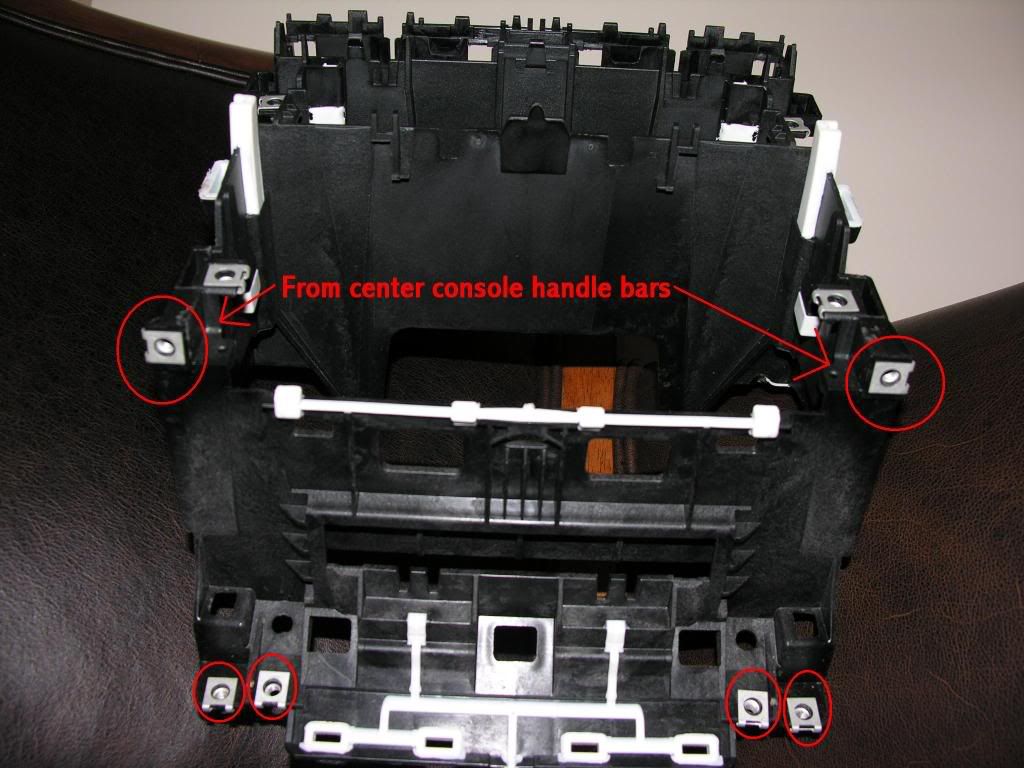
7) Remove center console handles.
In the picture below, see the four circles in the shift boot area. Those need to be undone.
On the underside of the handles, in the middle, is a hole reaching to a HEX bolt. From memory, I think it was an 8mm bolt (could be 6mm...). Those two bolts need to be undone.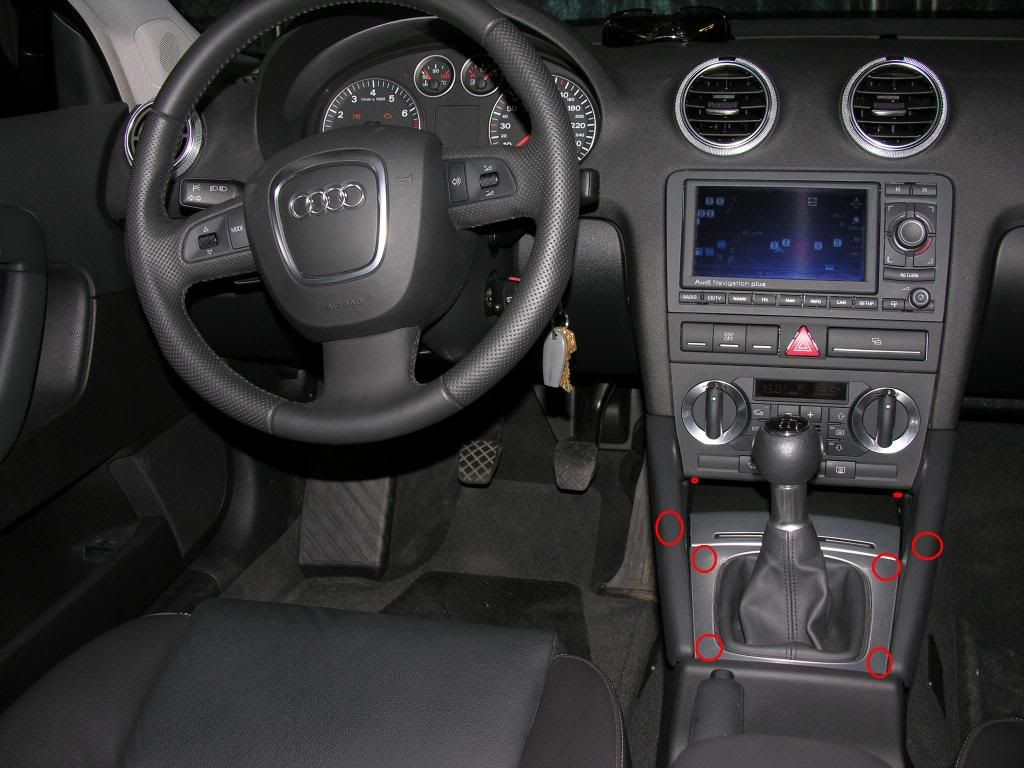
8) Unscrew the single-DIN cage
Where the red circles are, are torx screws. Unscrew all of them and another two screws on the side (glove box and driver foot well lower dash) and this should completely loosen the single-DIN. Loosening all these screws will also allow the handle bars to completely come off.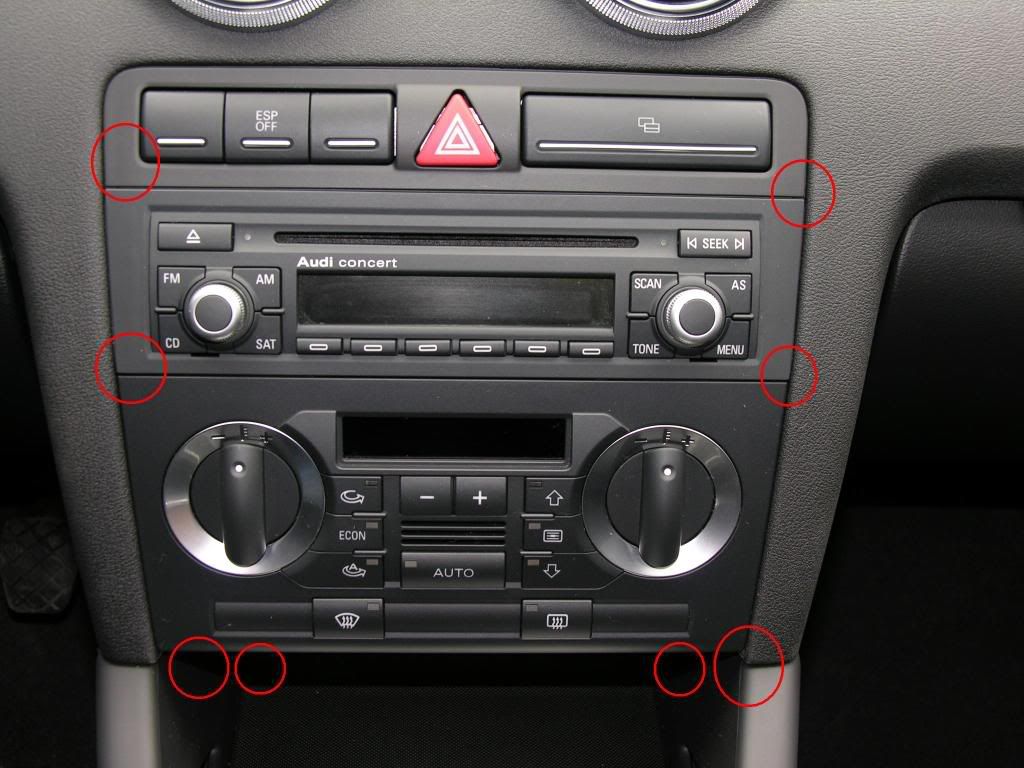
9) Remove the single-DIN cage
This sounds easier than it is. Its not meant to come out this way, but it will come. Pull out and twist down to the right. That worked for me.
**At this point, I had everything out. The ashtray and the "storage" area behind it were out. The entire dash had been taken out.**
Alright, very nice. The removing aspect of the job is done.... now its time for the good stuff. Installing.
10) Install the double-DIN cage
Again, sounds easier than it is. Just keep working it, and it will eventually go in. This is the part when I started sweating - taping the area would have been a great idea, but I managed not to scratch anything.
11) Line up the RNS-E unit in the cage.
Once the double-DIN cage is in, screw in the torx screws, but dont tighten.
12) Slide in the RNS-E unit, but not all the way in. Dont re-attach the cables.
This is check to make sure that the Nav+ will sit straight. If its straight, remove the RNS-E and then go hard with the torx screws.
13) Once all the torx screws have been tightened, install the RNS-E unit.
Attach the new cable harness, GPS antenna, Radio antenna, and push the unit all the way until it clicks.
14) Install the blanks, the two switches, and the new card tray.
15) Install the trim surround.
Now the sensitive part... cutting the climate control unit.
I didnt feel like shelling out $1,000 to buy a double-DIN climate control. So, I used a Dremel to shave down the sides so that it would fit.
16) Make a template of the shape of the new climate control.
I took a piece of cardboard and kept cutting it until it fit into the climate control area (on the bottom) like the actual unit would.
Once I had the exact shape, I centered it on my climate control and cut two rectangles for the knobs.
With the template centered on the climate unit, I traced the outline on it as the marks for cutting.
17) Using a dremel, shave down the sides of the climate control unit.
Take your time with this... keep shaving and testing, shaving and testing.
18) Once the fit is perfect, using a soft cloth polisher, buff the sides of the unit so that its smooth and not jagged from the sanding.
Hardest part is over!
19) Attach all the cables to climate control unit.
20) Wire your GPS antenna to a good location. I wired mine to the driver side fuse box. I get 4-8 satellites there all the time.
A lot of people have wired their antennas up in the instrument cluster.
Its magnetic so itll attach just about anywhere.
If youre really bold, you can get a FAKRA extension and wire it up to the existing sharkfin antenna on the roof... totally not necessary though.
21) Do not turn on car yet! If this is the end of the install, make sure you reinstall all the cables - light switch, pass. airbag, cd changer etc. or youll get a bunch of vag-com codes.
22) Put everything back together. Power on car. Hopefully everything should work - normal satellite reception is > 3.
23) For the ashtray area, I ended up doing a little bit of crude modifying. Since the double-DIN sits so much lower than the single-DIN, the storage area behind the ashtray is essentially eliminated. I didnt want to get a new bezel and trim that would be stuck in a hole Id never see.
After removing the existing storage area trim, youll see four tabs at the back. The two in the middle dont line up with the double-DIN.
I snapped them off.
The result... the same flooring of the storage area behind the ashtray, and more $$ in my pocket.
24) ADMIRE YOUR HANDYWORK!! 
25) Get your Vag Com cable out to do the necessary coding. If you dont have one, your dealer should be able to do the necessary coding for you.
----------------------------------------------
FOR BLUETOOTH RETROFIT, READ ON
1) I installed the module in my glovebox.
2) Run mic wire to preferred location.
I ran the mic wire up the passenger side A-pillar, across the headliner, and pulled it out in the overhead light console.
The mic now sits in the light console where those vents are, hidden from view. I get perfect voice reception with it up there.
3) Re-install everything.
4) Vag Com coding changes.
--------------------------------------------------------
Vag Com coding:
1) Select 19 - CAN gateway” and go into the Long Coding helper
Check on Byte 03, bit 7 (for telephone) - IF APPLICABLE, Bluetooth only
Check on Byte 03, bit 3 (for navigation)
2) Select 16 - Steering wheel: current coding 02022, new coding 04022
3) Select 37 - Navigation: current coding 0209217, new coding 0205617
4) Select 77 - telephone: current coding 0000000, new coding 0011477 - BLUETOOTH ONLY
**NOTE:
1) Since 6MT sports dont have DIS (in dash display), well always get an instrument cluster fault code. Theres no way to get rid of that fault.
2) Since there is no diversity antenna, all will get a "ZF Antenna" fault code in RNS-E (Select 77).
For example:
Steering Wheel:
1 Fault Found:
01317 - Control Module in Instrument Cluster (J285)
004 - No Signal/Communication
Nav:
2 Faults Found:
00858 - Connection; Radio ZF Output to Antenna Amplifier
011 - Open Circuit
01317 - Control Module in Instrument Cluster (J285)
008 - Implausible Signal
Radio:
2 Faults Found:
00858 - Connection; Radio ZF Output to Antenna Amplifier
011 - Open Circuit
01317 - Control Module in Instrument Cluster (J285)
008 - Implausible Signal
---------------------------------------------------------------------------
Well, that should do it, for this DIY.
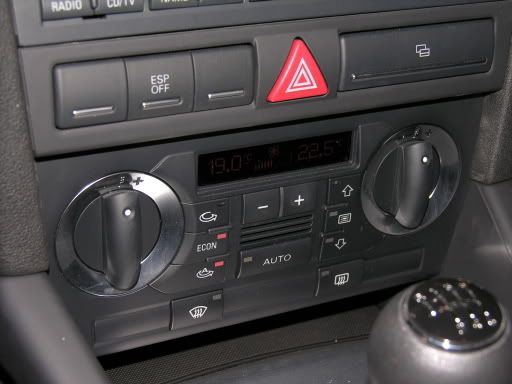
BEFORE: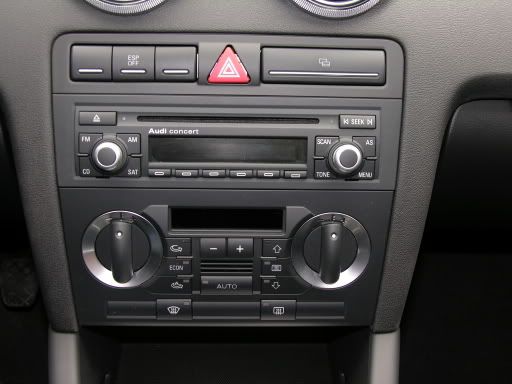
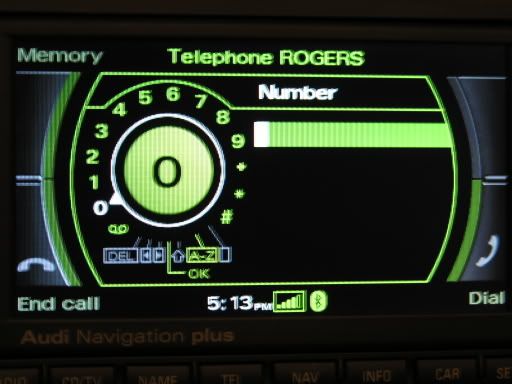
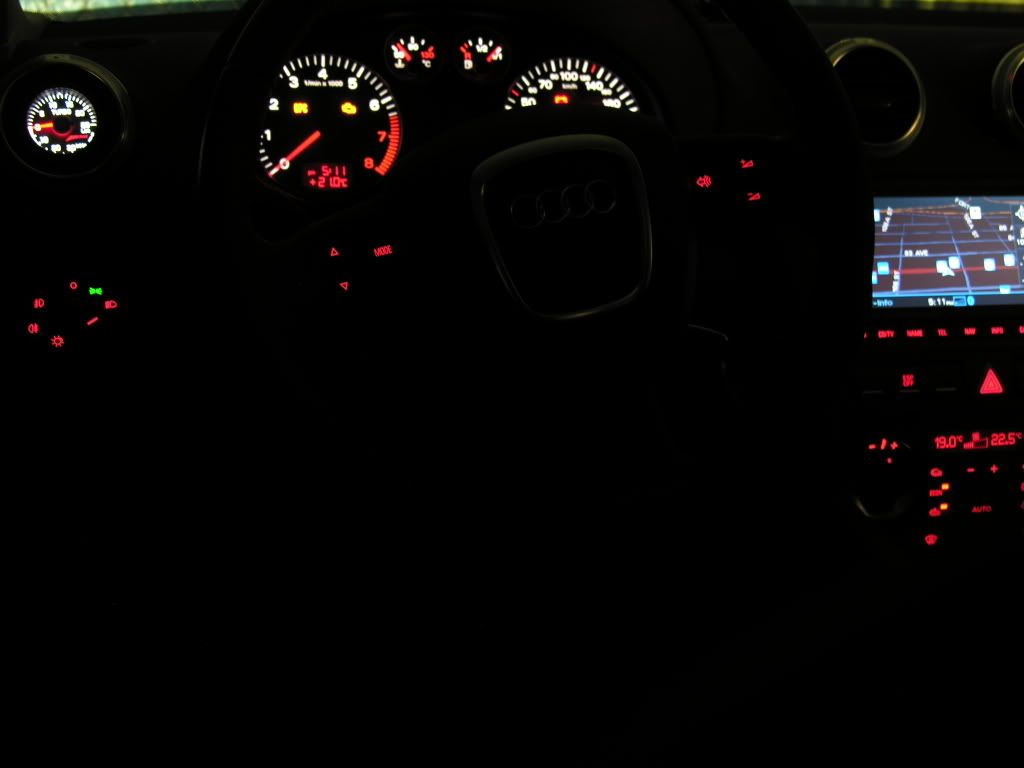
And some pics of the end result:
AFTER: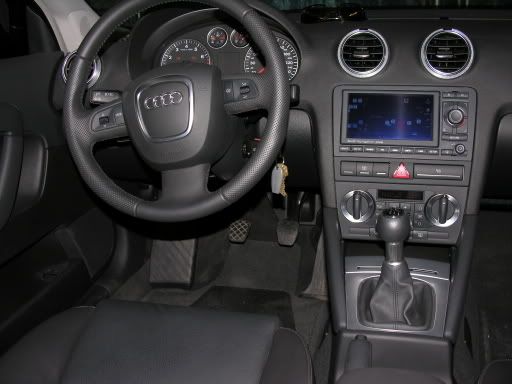
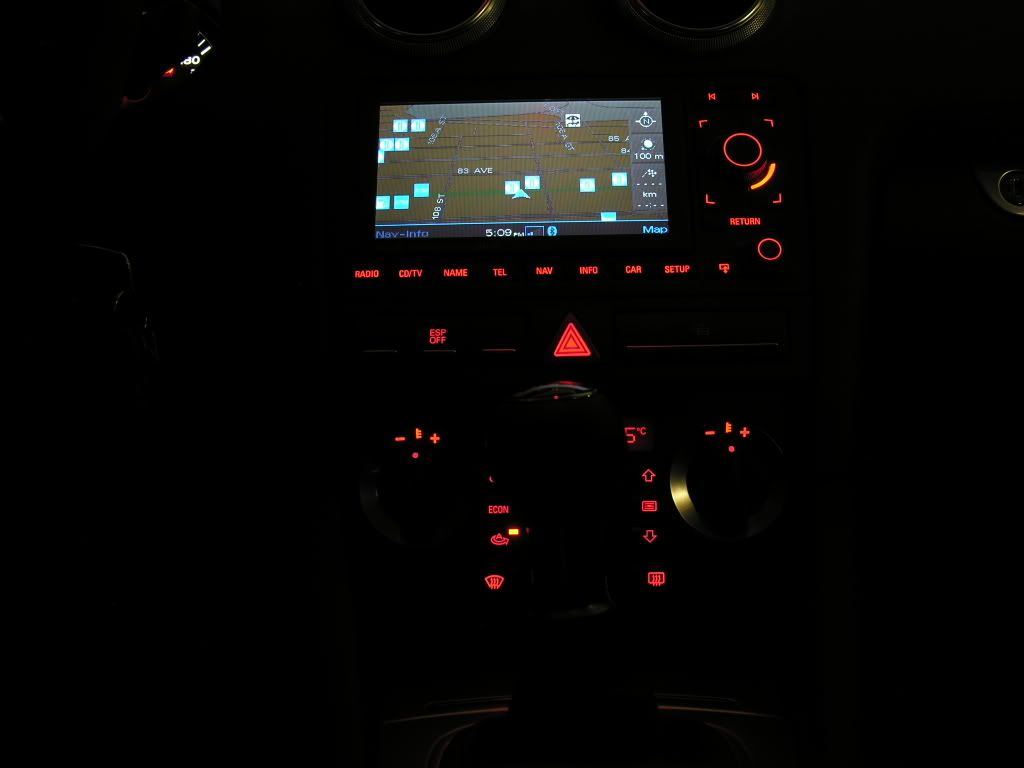
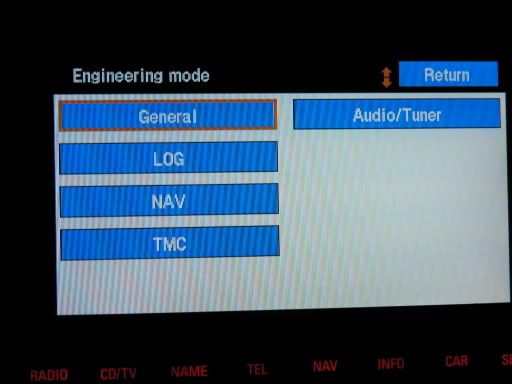
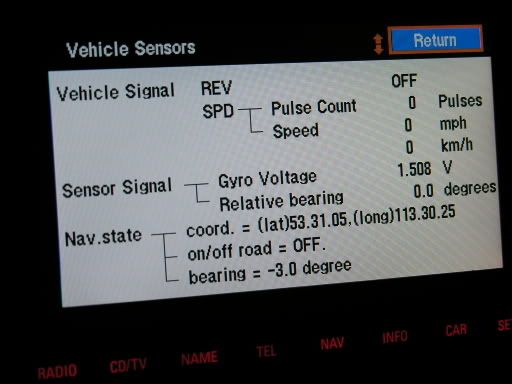
Oh, and whats this? Engineering Mode... very cool, if youre into a little bit more technical info: Location, Altitude, Road Speed... 
EDITED TO INCLUDE PART NUMBERS FOR
1) Double-DIN Passenger Airbag Warning Light - for US A3s
2) Double-DIN TPMS Switch
No comments:
Post a Comment
Note: Only a member of this blog may post a comment.